


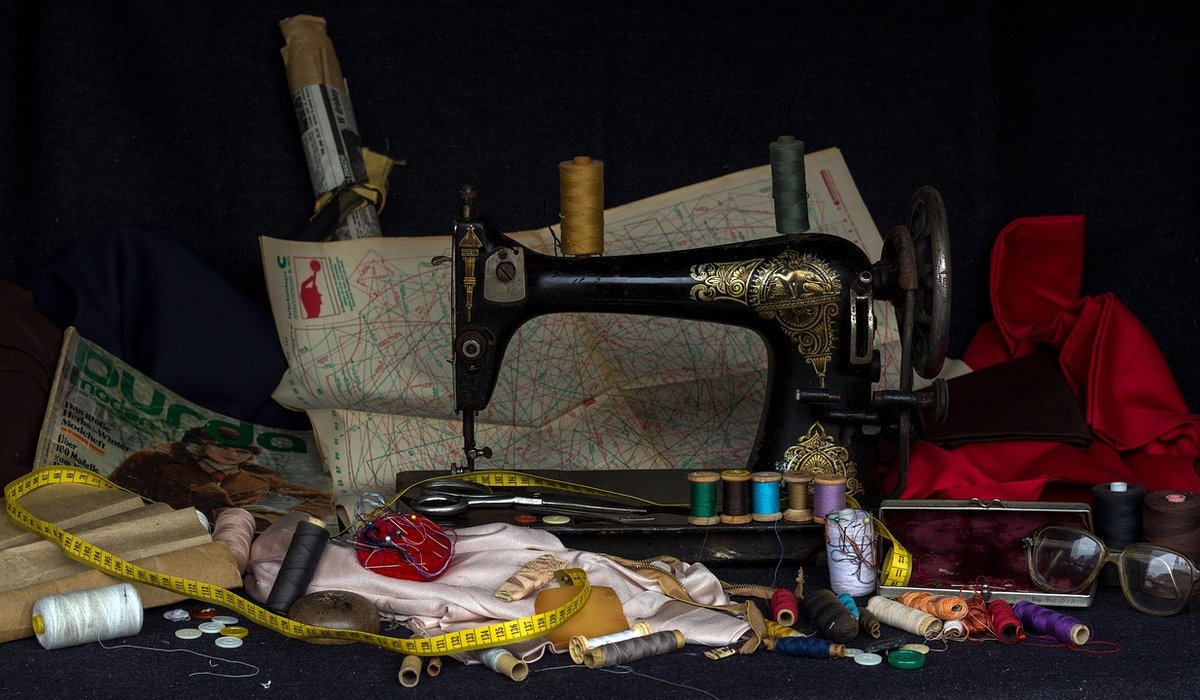
Why making your own loose covers pays off
A tired armchair is rarely tired all over. The arms may be rubbed and the seat faded, but the frame and springs are often perfectly sound. A loose cover hides the worst of it, changes the look of a room in an afternoon, and — best of all — can be taken off and washed whenever the dog, the grandchildren or a mug of tea get the better of it. Ready-made covers are usually one-size-fits-nothing, straining at the arms and bagging at the back. A cover made over your own chair follows its shape. You do not need upholstery training; you need paper, pins, patience and a sewing machine that sews a reliable straight seam.
Choosing a fabric that will survive the wash
The fabric has to do two jobs: look good in the room and stand up to repeated laundering. Medium-weight woven cottons are the sensible choice.
- Cotton drill or canvas (around 250–300 gsm): hard-wearing, holds its shape and takes dye and print well. The traditional choice for loose covers.
- Linen-cotton blends: more texture and a softer drape, though they crease more readily.
- Ticking and twill: tight weaves that resist pilling and disguise everyday marks.
- Avoid stretchy fabrics, loose knits and anything that needs dry cleaning — the whole point is easy washing.
Pre-wash and tumble-dry your fabric before you cut, or at least hot-wash and line-dry it. Cotton shrinks, and a cover cut before washing can end up too tight to fit. For a standard armchair, allow roughly 6–8 metres of 140 cm-wide fabric, plus extra if you want piping or a matching cushion. Buy good-quality polyester thread and a fresh size 90/14 or 100/16 needle.
Making the paper pattern over the chair
Work with lining paper or brown paper, masking tape, a soft pencil and plenty of pins. You are building the cover flat, panel by panel, so label everything clearly as you go.
- Start with the inside back: lay paper over the chair back, smoothing it into the crease where back meets seat, and tape pieces together as needed.
- Mark every edge — top, bottom, left and right — and write “inside back”, “left arm” and so on directly on the paper, adding an arrow pointing to the top.
- Repeat for the outside back, the inside and outside arms, the seat, the front skirt and any cushion faces.
- Leave generous turning for tuck-in covers: 10–15 cm down the sides and back so the fabric can be pushed into the gaps with a blunt knife or the handle of a spoon.
- Add 2 cm seam allowance to every edge once the paper shapes fit the chair, then check the pattern on the chair once more before cutting.
Pin fitting and cutting the fabric
Lay the pattern pieces on the fabric following the grain — the straight of the weave should run vertically on the back and arms. Pin the paper down, chalk around it and cut with sharp dressmaking shears. Cut the main panels first, then any cushion pieces from the leftovers.
Pin the fabric panels together over the chair, wrong sides out, and check the fit before you sew a single stitch. Look for pulling across the seat, wrinkles under the arms, and any gap where the cover lifts away. Adjust the pins, mark the seam lines with tailor’s chalk, then take the cover apart.
Sewing the pieces together
Sew with a 1.5 cm seam allowance and a straight stitch, then neaten the raw edges with a zigzag or overlock stitch so they survive the wash.
- Join the main panels in the order you pinned them — back, arms, then seat — pressing each seam open as you go.
- Clip the curves at the arm fronts and back corners so the fabric lies flat when turned.
- Add a fastening at the back or under the seat: a 60 cm zip, a strip of hook-and-loop tape, or a row of press studs. Zips give the neatest finish; hook-and-loop tape is quicker for beginners.
- Finish the hem with a double fold, 4–6 cm deep, stitched close to the edge.
- Optional piping along the seams adds shape and hides slight unevenness.
Try the cover on the chair again, still inside out, and mark any adjustments before trimming.
Washing, fitting and everyday care
Turn the cover right side out, ease it over the chair, and work the tuck-in allowances down with a blunt knife. Allow a day for the fabric to settle; cotton relaxes into the shape of the chair and any tightness in the seams eases.
Wash at 30°C on a gentle cycle and line dry or tumble on low. Hot washes and a hot iron will shrink a pre-washed cover further, so keep the heat modest. If you make two sets in the same fabric, one can be on the chair while the other is in the wash — which is, in the end, the real luxury of a well-made loose cover.


Leave a reply